Setup Gitlab
Run the following command to install gitlab on your machine.
sudo docker run -d --hostname 10.211.55.5 \
-p 80:80 -p 443:443 -p 22:22 \
--restart always gitlab/gitlab-ce
Please follow official installation docs to install docker if it’s not been installed. Do NOT forget change
10.211.55.5and/srv/gitlab/to your own.(I have a virtual machine with that ip.) If your docker is behind a proxy, please see the search results from Google.
After several mins, access http://10.211.55.5 (the host you set above), you will the following picture.
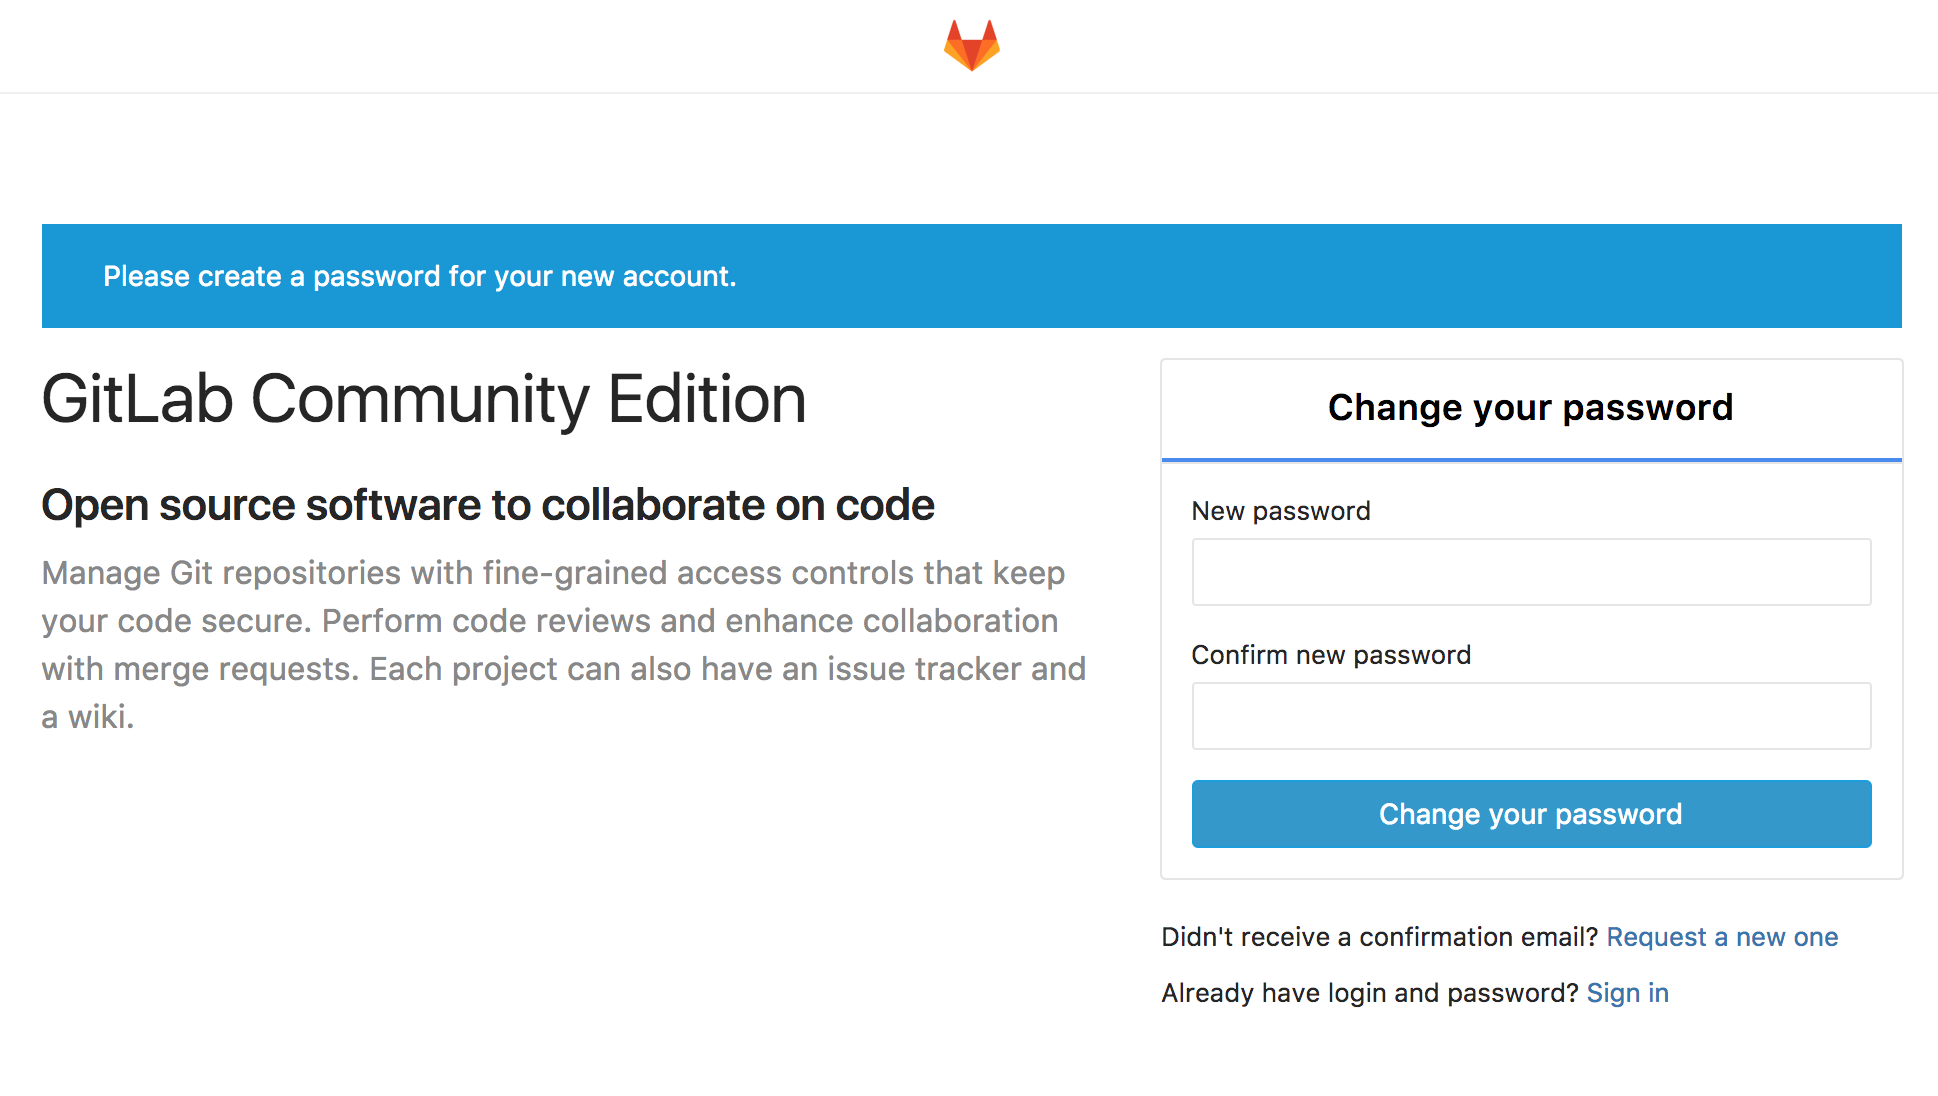
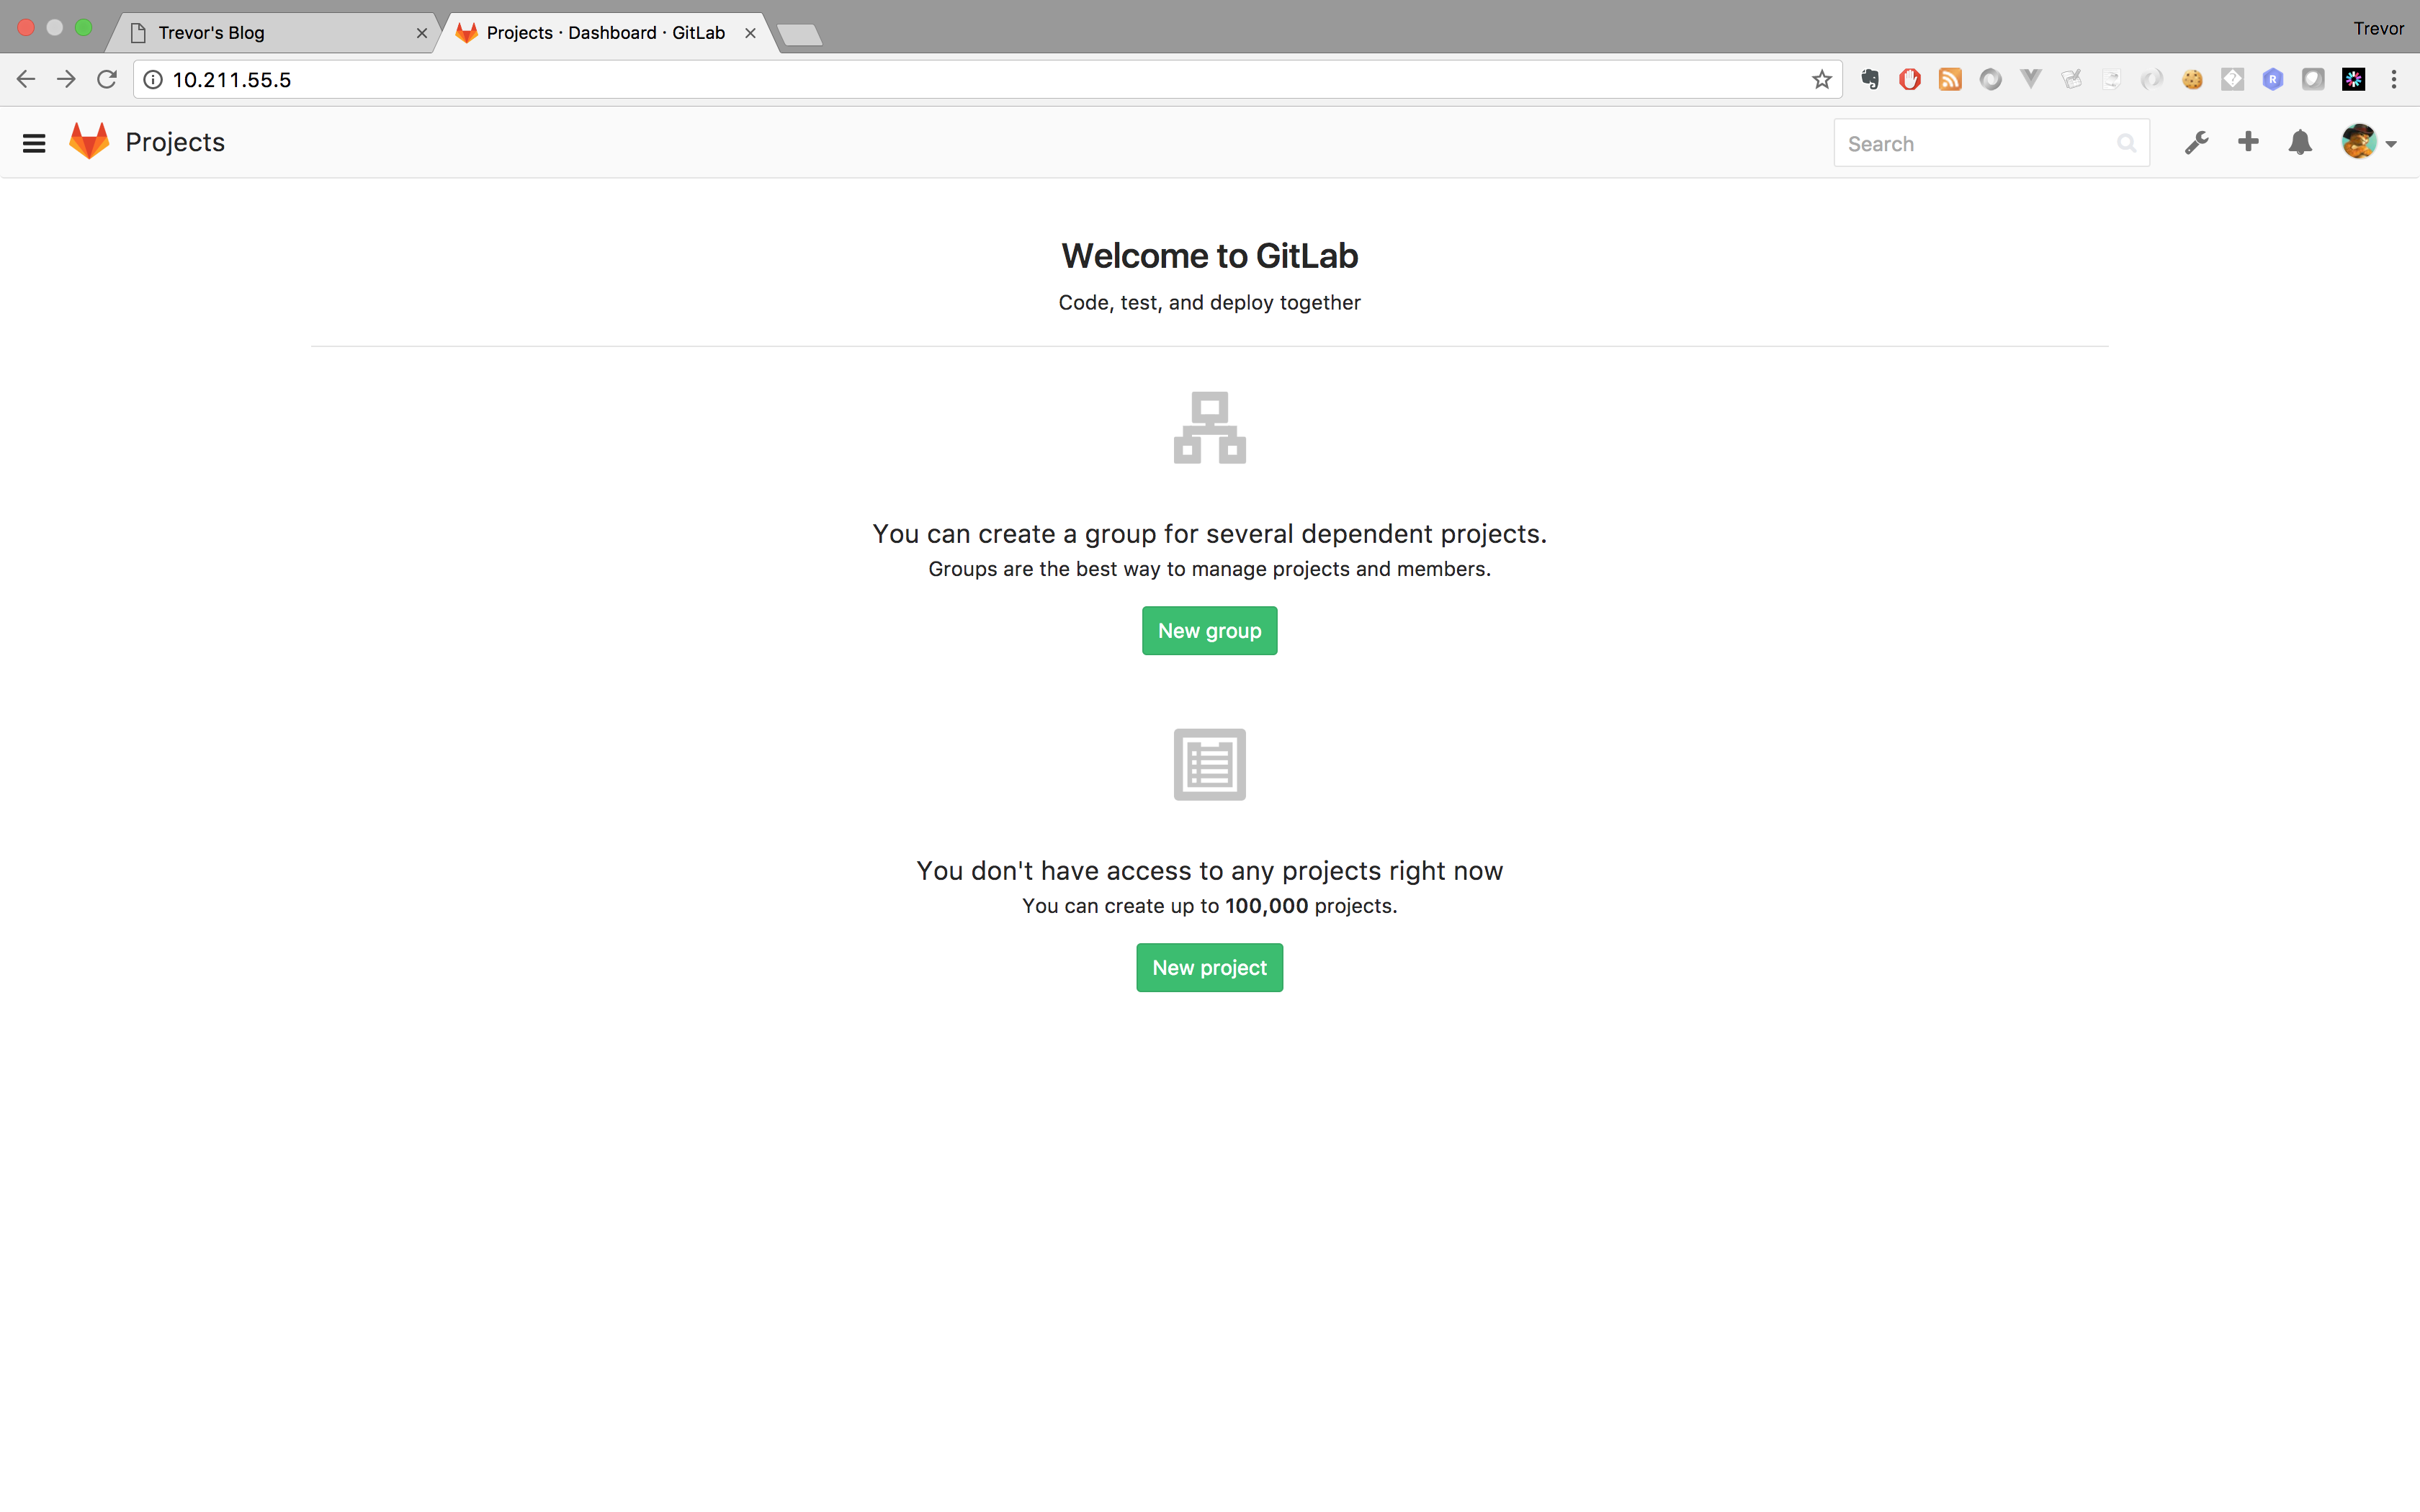
Set your admin password, and login again.
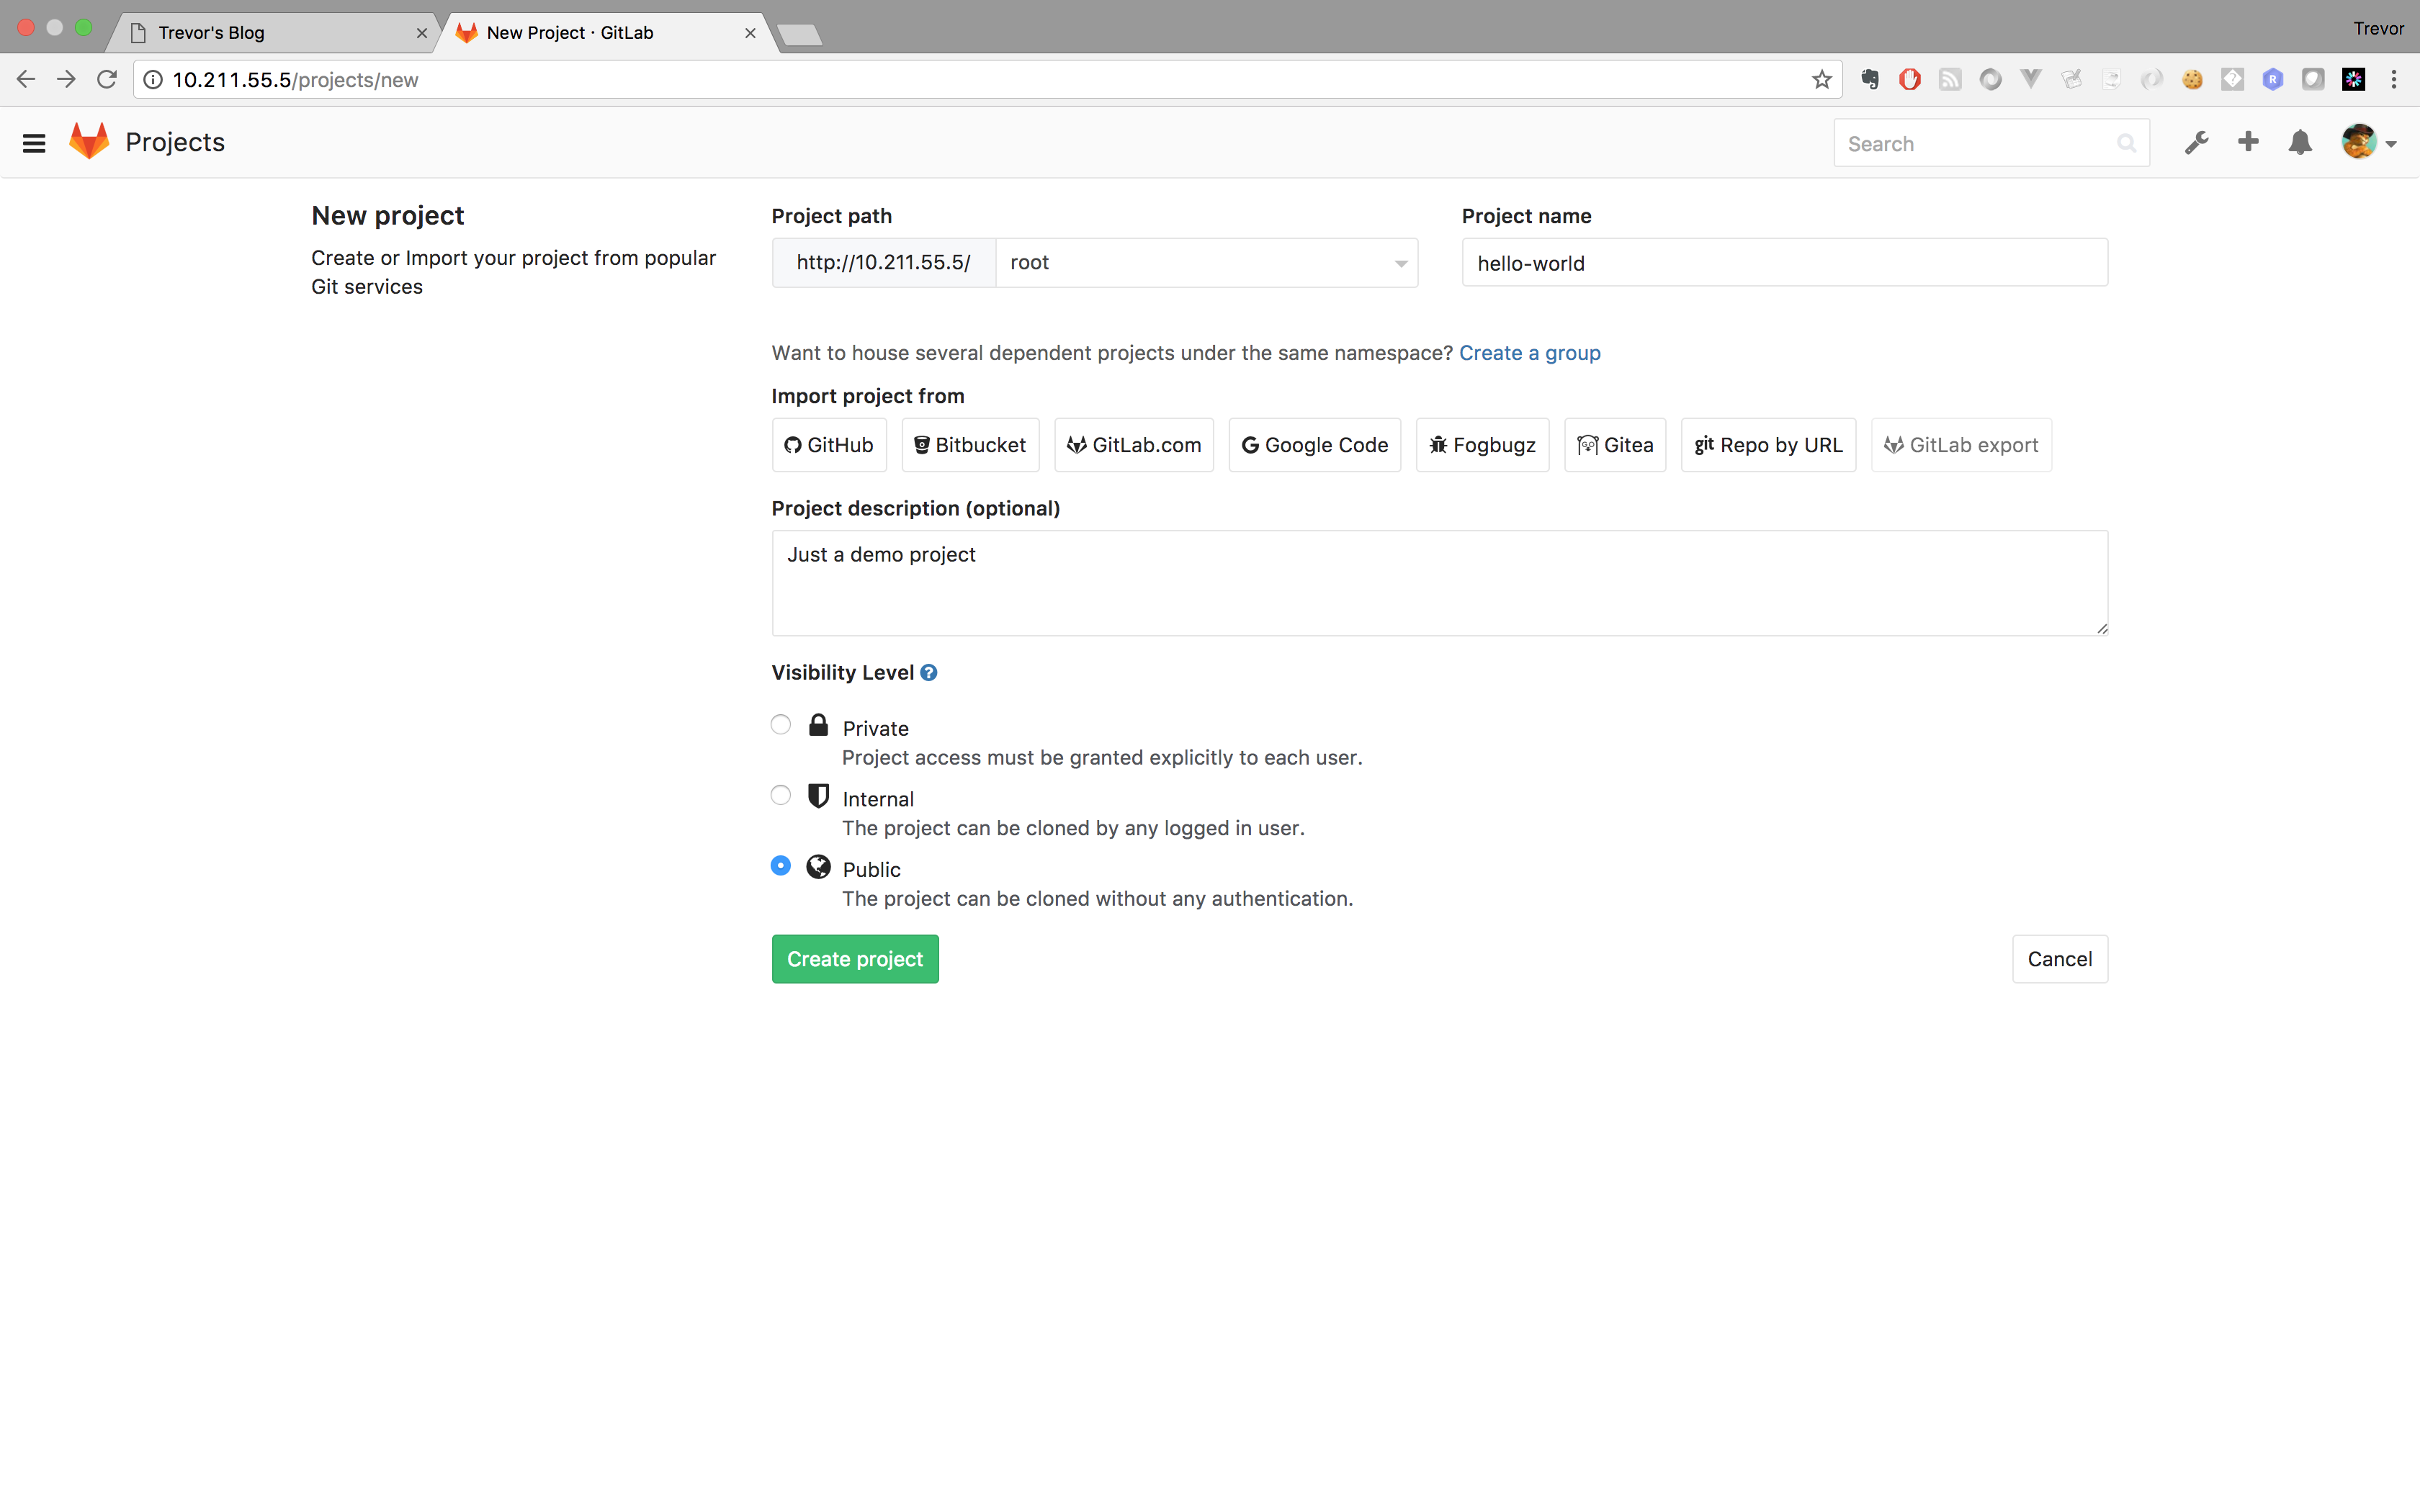
Create new project hello-world as the following:
Once you create the project, follow the instruction to upload demo code to the repo. When you finish you will see a similar picture.
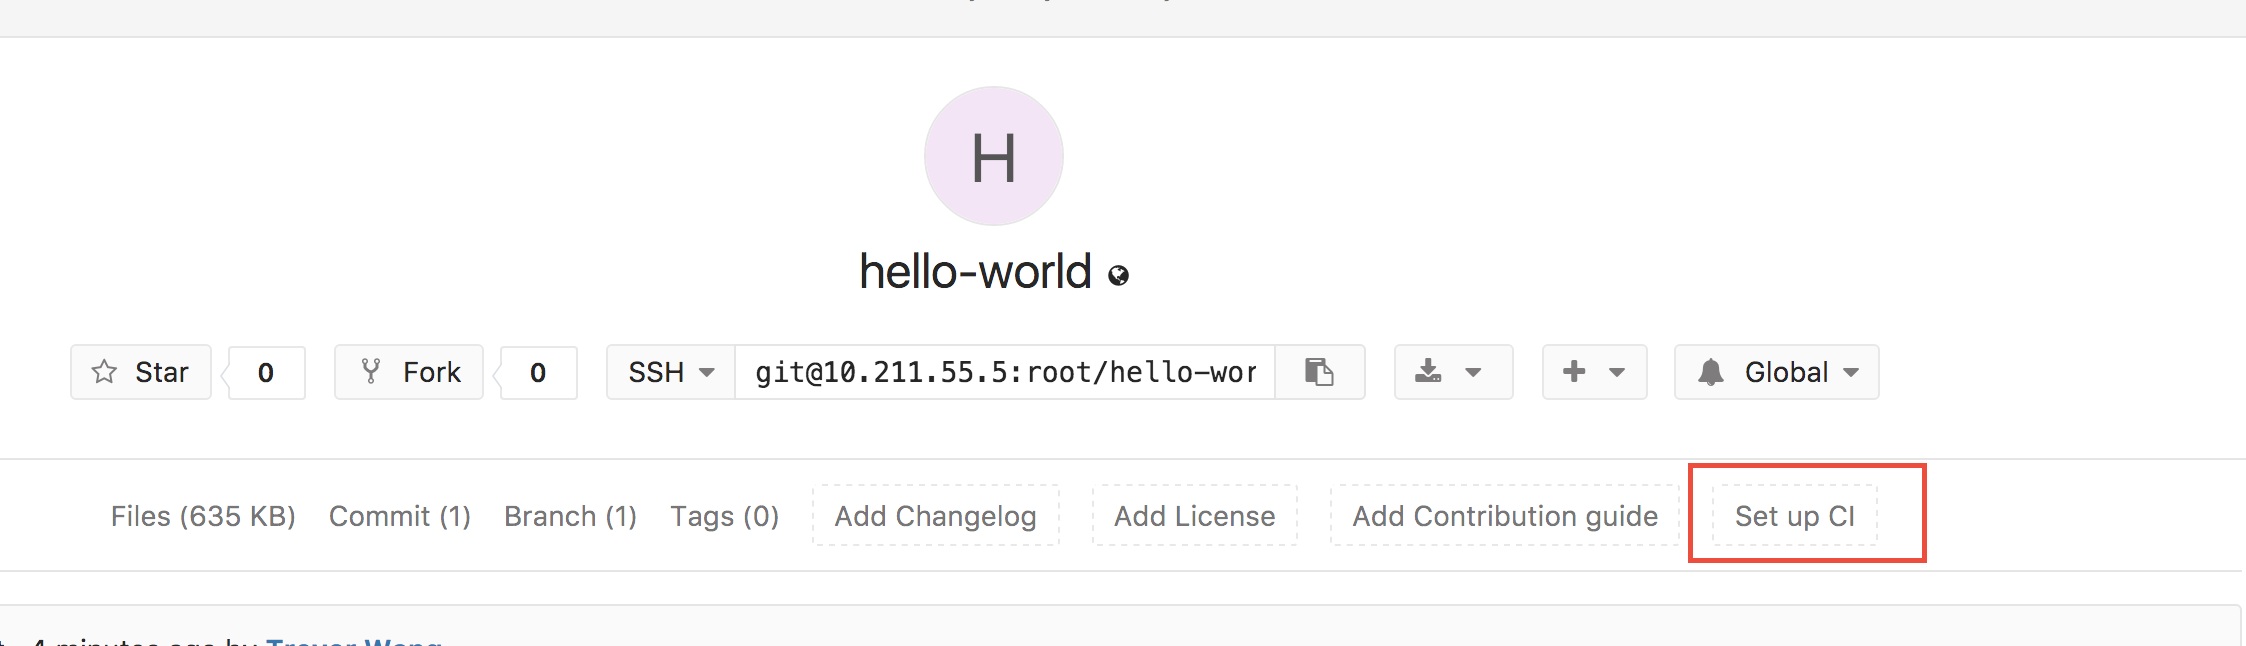
Click the Set up CI button, add the following code and commit.
test:
  script:
  - echo 'hello world'
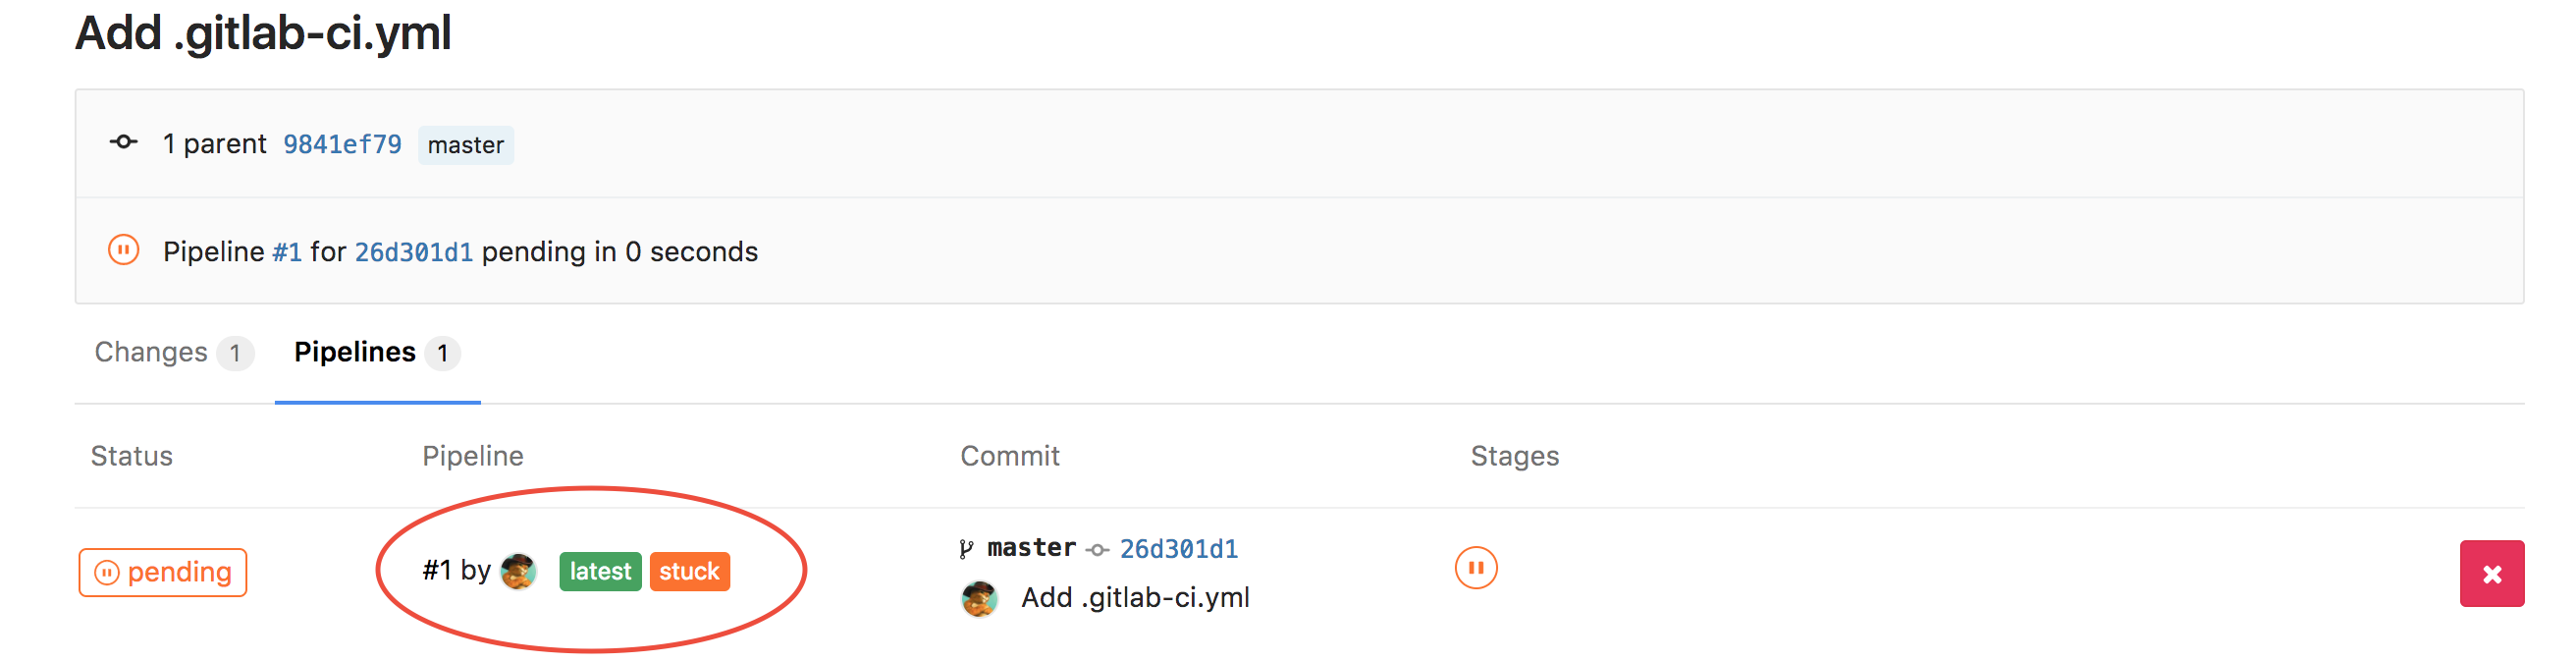
A pending icon will appear on the result page.

Click the icon, you will see a stuk tag on your commit. That means you have to add gitlab-runner to this project.
Setup Gitlab Runner
-
Open
CI/CD Pipelinetab in project settings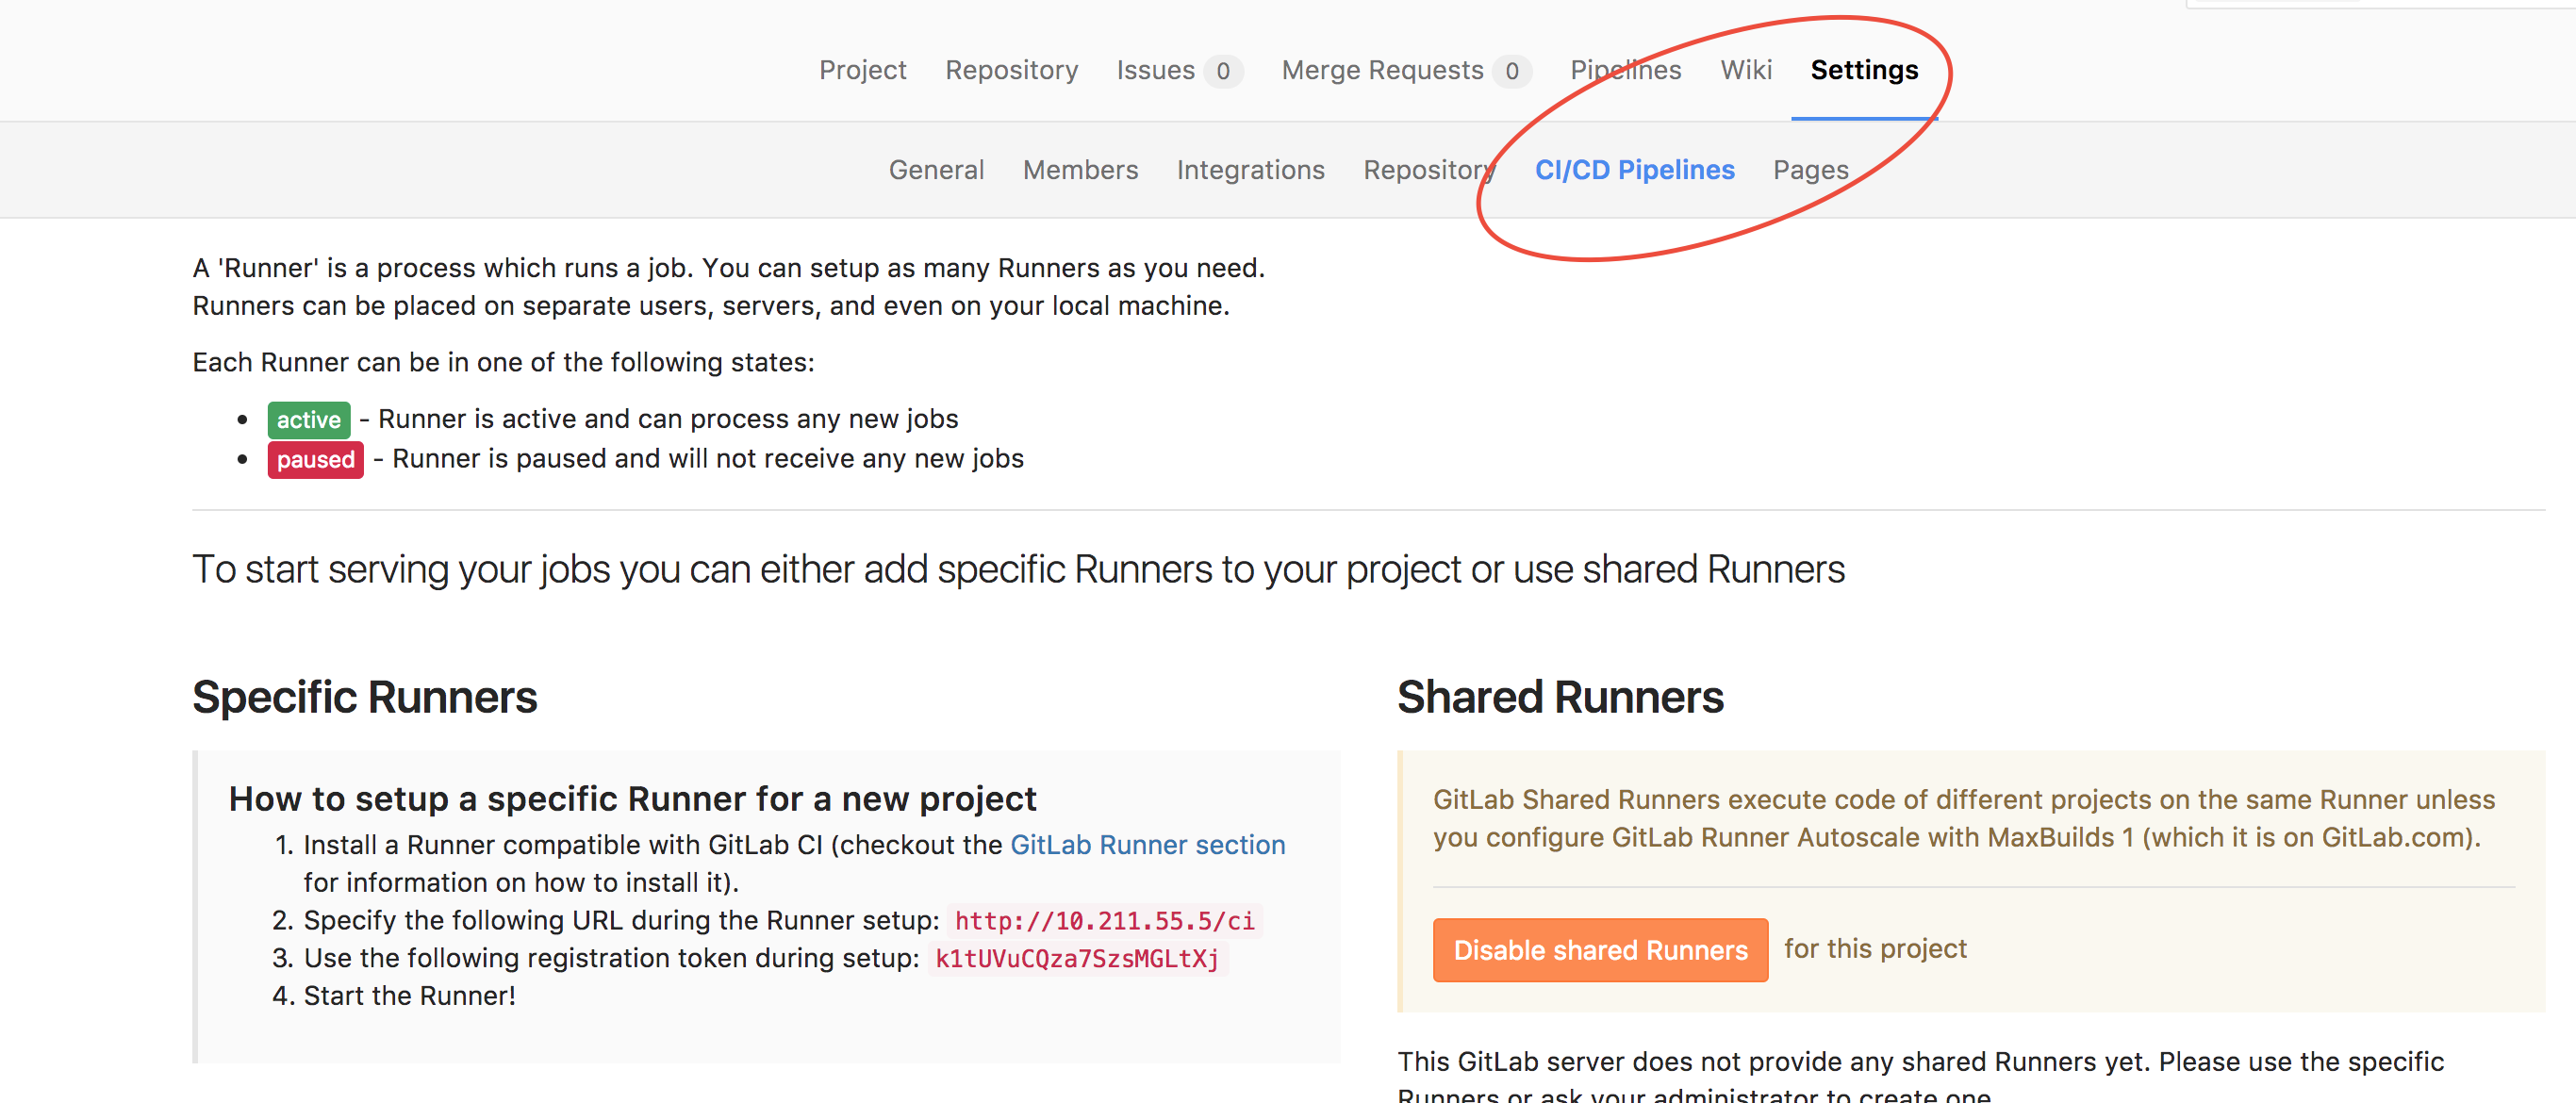
-
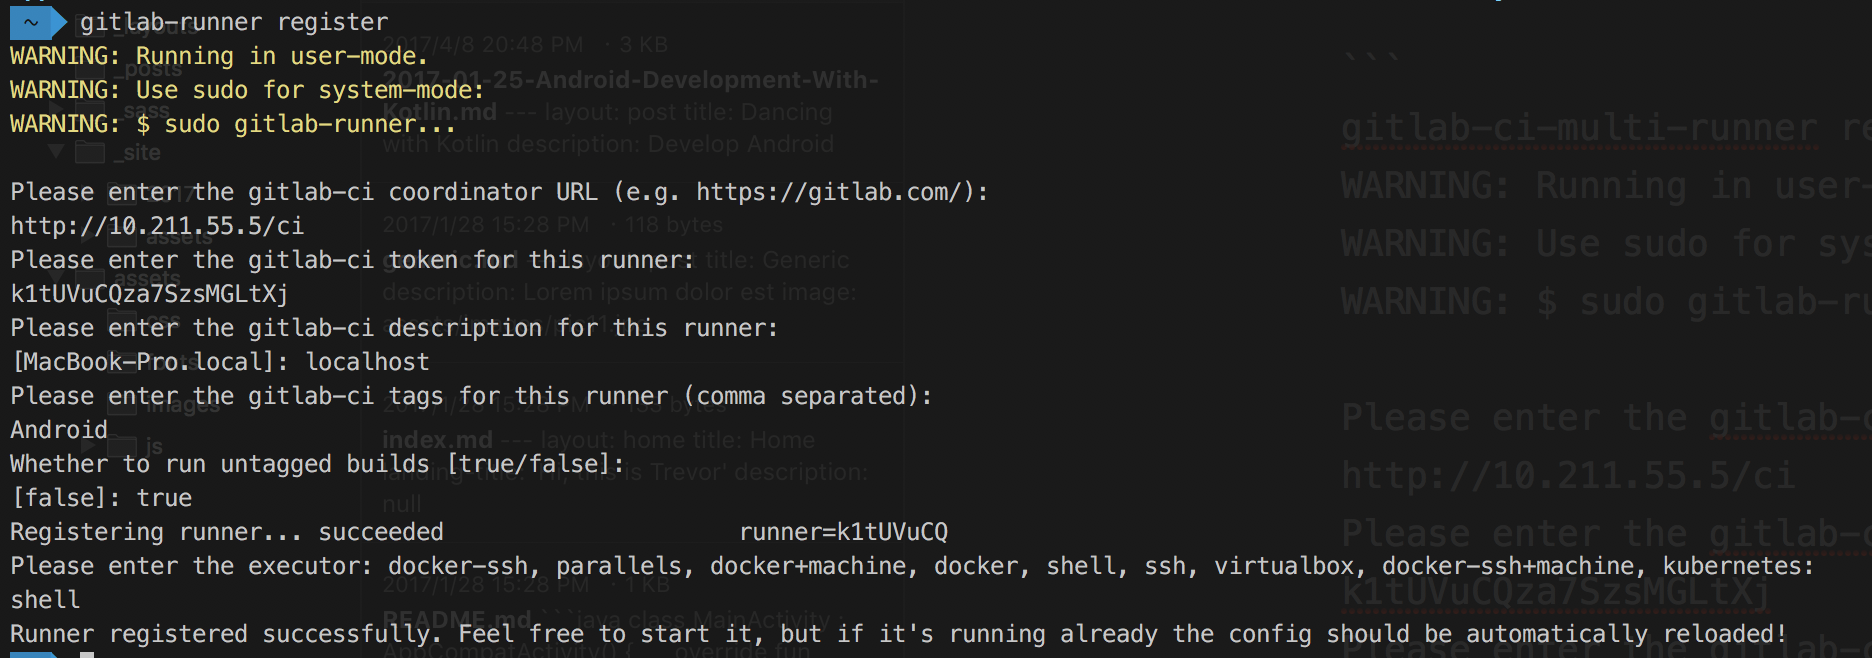
Install setup runner on your local machine
brew install gitlab-ci-multi-runner -
Register your local machine as a runner to the gitlab
-
Runner list

-
Go back to the
Pipelinesof your project and click theretrybutton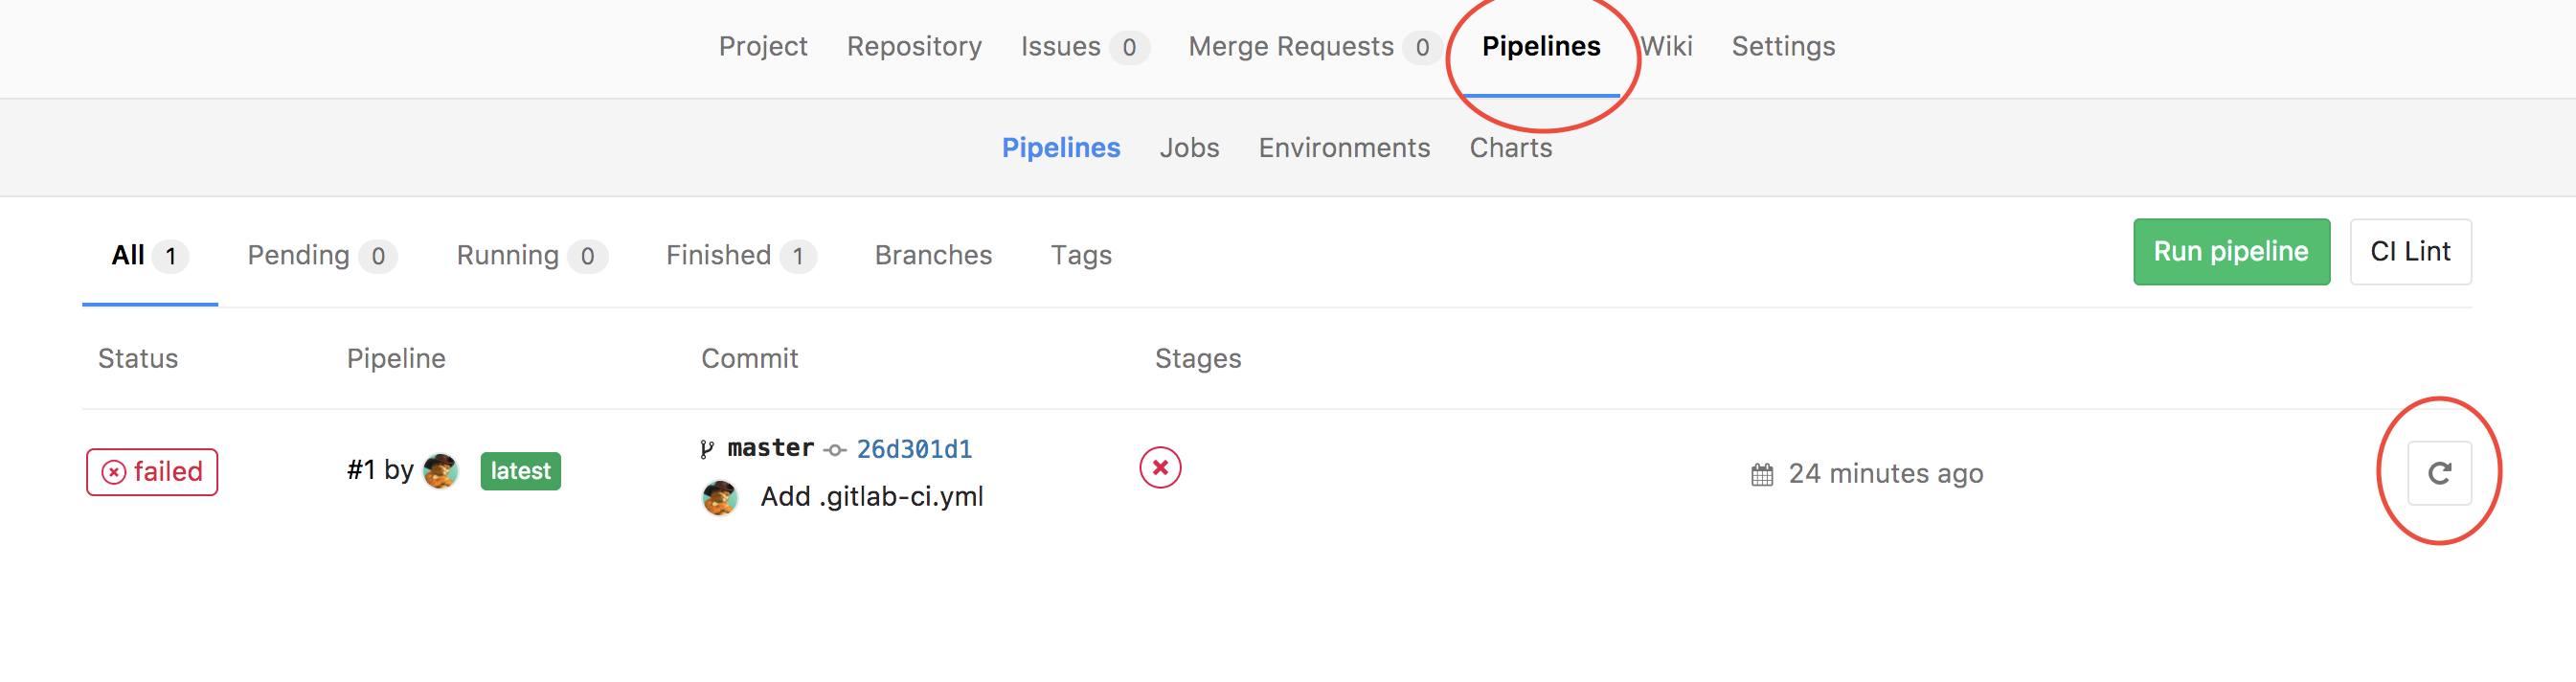
-
You runner has been set up successfully when you see the picture

-
Change the
.gitlab-ci.ymlto the following:test: script: - ./gradlew aR artifacts: paths: - app/build/outputs/apk/app-release*.apk -
Now you will get the release apk file from the download button.
